Description
Features
Stable mechanical structure
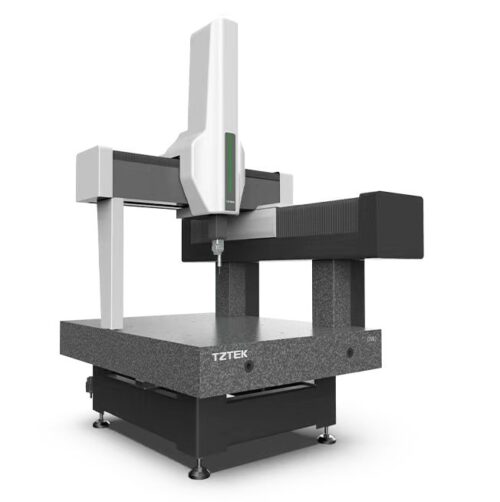
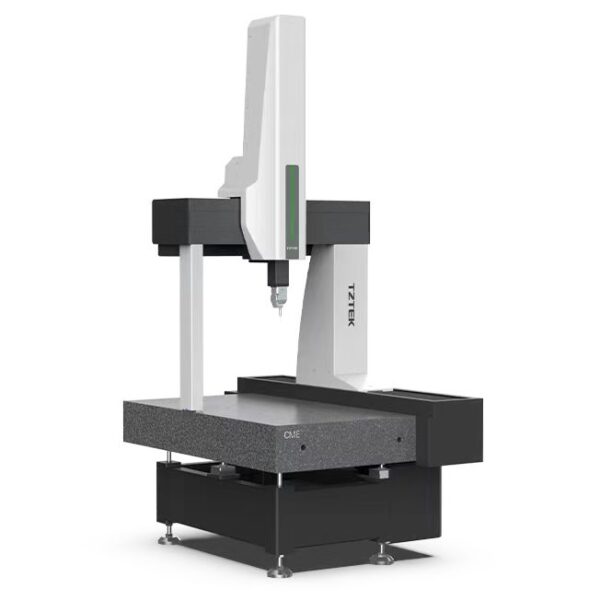
- The single-sided overhead moving bridge structure reduces moving mass and brings the drive closer to the moving center of mass, which minimizes Abbe error, and effectively improves motion performance and accuracy stability.
- High-rigid high-performance air-bearing guide brings neither friction nor wear or tear, and the three axes designed in an enveloping structure together with air-bearing pressure monitor effectively ensure its stability.
- Ultra-low linear temperature and linear expansion coefficient scale for three axes is insusceptible to temperature change, effectively improving the accuracy of the machine.
Application of new materials
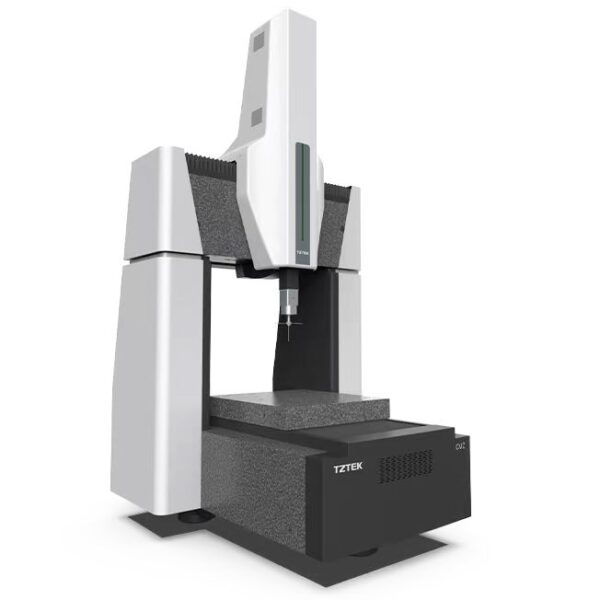
Key structural parts are made of high-precision silicon carbide ceramics, which provide higher rigidity and lower temperature linear expansion performance while making the moving bridge lighter in mass, greatly improving accuracy and long-term reliability.
Safety
The Z-axis is under the protection of both the pneumatic logic of the balancing cylinder and the hardware hold-up mechanism, ensuring the safety of the detection system in an emergency.
Specification
| Model | Stroke range(mm) | Overall dimension(mm) | Main machine weight(kg) | Max. load (kg) | Vector motion velocity (mm/s) | Vector motion acceleration (mm/s2) | ||||
|---|---|---|---|---|---|---|---|---|---|---|
| X | Y | Z | LX | LY | LZ | |||||
| 06.08.06 | 600 | 800 | 600 | 1548 | 1932 | 2810 | 2400 | 600 | 520 | 1870 |
| 08.10.06 | 800 | 1000 | 600 | 1748 | 2132 | 2810 | 2850 | 1000 | 520 | 1870 |
| 10.12.08 | 1000 | 1200 | 800 | 1948 | 2332 | 3180 | 3150 | 1200 | 520 | 1870 |
| 10.15.08 | 1000 | 1500 | 800 | 1948 | 2632 | 3180 | 3620 | 1500 | 520 | 1870 |
| 10.20.08 | 1000 | 2000 | 800 | 1948 | 3150 | 3180 | 4800 | 1800 | 520 | 1870 |
| 12.15.10 | 1200 | 1500 | 1000 | 2148 | 2632 | 3580 | 5400 | 1500 | 450 | 1200 |
| 12.20.10 | 1200 | 2000 | 1000 | 2148 | 3150 | 3580 | 5800 | 1800 | 450 | 1200 |
| 15.20.12 | 1500 | 2000 | 1200 | 2448 | 3150 | 3580 | 6400 | 1800 | 450 | 1200 |
| 15.25.12 | 1500 | 2500 | 1200 | 2448 | 3650 | 3980 | 7200 | 2300 | 450 | 1200 |
| 15.30.12 | 1500 | 3000 | 1200 | 2448 | 4150 | 3980 | 8000 | 2500 | 450 | 1200 |
| Length measurement errorMPE (EO) (µm) | Single stylus form probing errorMPE (PFTU) (µm) | ||
|---|---|---|---|
| From 1.2+L/350[1] | From 1.2 | ||
| Precision index: According to the performance evaluation standard of CMM in ISO10360-2:2009 and ISO10360-5:2010 | |||
| Temperature requirements for measuring machine room | Power requirement | ||
| Room temperature (temperature control room) | 20°±2°C | Voltage | 220 vac±10% |
| Temperature gradient (time) | 1°C/h | Frequency | 50/60 Hz±1% |
| Temperature gradient (time) | 2°C /24h | Electric current | 10A |
| Temperature gradient (space) | 1°C/m | Power | 2.5kW |
| Air source requirement | Electrical equipment requires reliable grounding: grounding resistance is less than 4 ohms | ||
| Min. air supply pressure | 0.6MPa | Humidity requirements for measuring machine room | |
| Air consumption | 150NL/min | Relative air humidity | 25~75% |


